Understanding the Importance of Nail Size in Shingle Installation
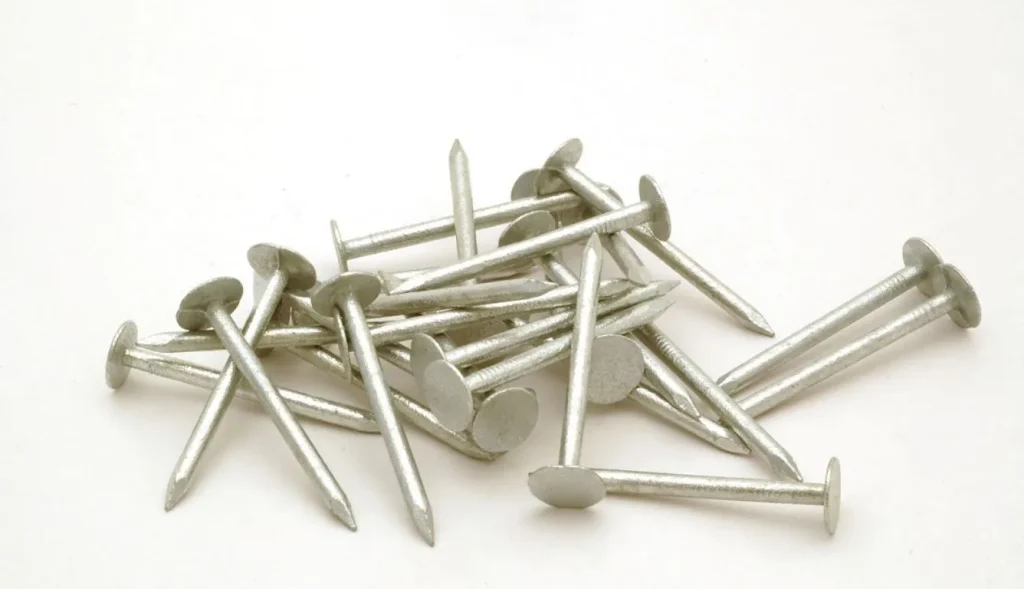
When it comes to roofing, every detail matters. You might think nails are just tiny pieces of metal, but trust me, they’re the unsung heroes of your roof. Nails hold everything together, literally. Choose the wrong size, and you’re setting yourself up for loose shingles, leaks, or even worse—a complete roof failure during a storm.
The Role of Nails in Shingle Durability and Performance
Roofing nails secure shingles to the roof deck, ensuring they stay put even under harsh weather conditions. Without the right nails, shingles can lift, water can seep in, and your home’s interior can suffer.
How Incorrect Nail Sizes Can Impact Roof Longevity
Using nails that are too short won’t anchor the shingles securely, while overly long nails can pierce the roof deck, inviting moisture and rot. This is one area where precision matters more than you might think.
Common Misconceptions About Nail Size and Shingle Installation
- “Bigger is always better”: Not true. Oversized nails can damage your roof structure.
- “All shingles need the same nails”: Different materials like asphalt, wood, and slate have unique requirements.
Factors to Consider When Choosing Nail Size for Shingles
Roof Type and Structure Considerations
If your roof has multiple layers or a steep slope, longer nails might be necessary to penetrate all layers securely.
Nail Length and Its Relation to Shingle Layers
Standard recommendations call for nails to penetrate at least 3/4 of an inch into the roof deck—or through it if the deck is thinner.
Climate and Environmental Impacts on Nail Selection
Live in a high-wind or hurricane-prone area? You’ll need nails designed to handle strong gusts and maintain a tight grip on your shingles.

Standard Nail Sizes for Shingles: What the Experts Recommend
Common Nail Lengths for Asphalt Shingles
Most asphalt shingles require 1-1/4-inch nails, but if you have thicker shingles or multiple layers, opt for 1-1/2-inch nails.
Differences in Nail Size for Wood and Slate Shingles
Wood shingles typically need longer nails, around 1-1/2 to 2 inches, while slate shingles require heavy-duty nails, sometimes up to 3 inches.
Why Roofing Codes Dictate Nail Sizes
Building codes are there for a reason—they ensure safety and longevity. Always check your local requirements before purchasing nails.
Nail Gauge: Does Thickness Matter for Shingle Installation?
Understanding Nail Gauge and How It Affects Roof Integrity
Nail gauge refers to the thickness of the nail. Thicker nails, such as 11-gauge, offer more holding power, making them ideal for heavy shingles.
Comparing Different Nail Gauges for Optimal Performance
While 11-gauge nails are common for roofing, thinner nails like 13-gauge may work for lightweight shingles but aren’t as durable.
How to Calculate the Correct Nail Size for Your Roof
- Measure the thickness of your shingles.
- Factor in the underlayment and decking material.
- Ensure the nail will penetrate the roof deck by at least 3/4 inch.
For example:
| Shingle Type | Recommended Nail Length |
|---|---|
| Asphalt | 1-1/4 to 1-1/2 inches |
| Wood | 1-1/2 to 2 inches |
| Slate | 2 to 3 inches |
Common Mistakes When Selecting Nail Sizes for Shingles
Overlooking Roofing Material Specifications
Each shingle type has unique requirements, and ignoring these can lead to costly repairs.
Using Nails That Are Too Short or Too Long
Short nails may cause shingles to lift, while overly long nails can damage the deck.
Relying Solely on Price Without Considering Quality
Bargain nails might save you a few bucks upfront but could lead to expensive roof repairs later.
Nail Placement: Why It’s as Important as Nail Size
Proper placement ensures shingles lay flat and are secure. Misplaced nails can create weak spots, inviting wind and water damage.
Different Types of Roofing Nails and Their Applications
Galvanized Nails vs. Stainless Steel Nails
- Galvanized: Affordable and rust-resistant, ideal for asphalt shingles.
- Stainless Steel: Premium option for coastal areas prone to corrosion.
Specialty Nails for Unique Shingle Types
Specialty nails, like copper nails, are often used for slate roofs to prevent staining.
Pros and Cons of Using Ring-Shank vs. Smooth-Shank Nails
- Ring-Shank: Superior grip, ideal for high-wind areas.
- Smooth-Shank: Easier to drive in but less secure over time.
Maintenance Tips to Extend the Life of Nails and Shingles
- Regular Inspections: Check for loose or corroded nails.
- Prevent Nail Backout: Secure any protruding nails before they cause damage.
- Address Nail Pops: Replace or reset nails that have pushed through shingles.
FAQs About Nail Sizes for Shingles
Using incorrect nails can lead to loose shingles, leaks, and potential roof failure.
No, different shingle materials require different nail lengths and gauges.
Typically, four nails per shingle, but high-wind areas may require six.
Both have their merits. Galvanized nails resist rust, while stainless steel is better for coastal regions.
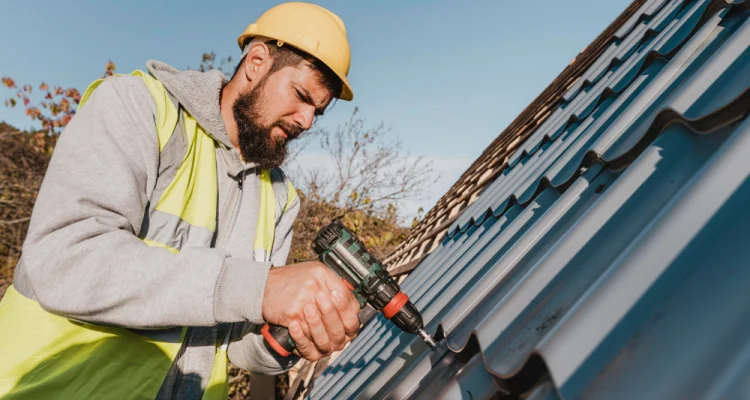
While screws can provide strong holding power, they are not typically recommended for shingle installation as they can damage the shingles and make future repairs more difficult.
Signs that you’ve used the wrong nail size include shingles that lift or curl, exposed nail heads, and leaks. Inspect your roof regularly to catch these issues early.
Overdriving nails can cut into the shingles, compromising their waterproofing and leading to potential leaks and premature shingle failure.
Yes, in areas with high winds, using longer nails can help ensure that shingles stay securely fastened to the roof deck.
It’s generally not recommended to reuse nails when replacing shingles, as they may have been weakened during the removal process. New nails will ensure a stronger, more secure installation.
Summary
Choosing the right nail size for shingles isn’t just a technical step—it’s a vital part of ensuring your roof stands strong for years. By considering factors like roof type, climate, and materials, you can make informed choices that save time, money, and headaches down the road.


Congratulation!