Introduction
Cutting aluminum rain gutters may seem like a daunting task, but with the right tools and techniques, it can be relatively straightforward. Properly cutting your gutters ensures a snug fit, smooth water flow, and a clean appearance. Whether you are installing new gutters or replacing old ones, precision is key. In this guide, we’ll provide a detailed walkthrough of how to measure, mark, and cut aluminum gutters like a pro.

Tools You Will Need
Before you begin, gather the following tools:
- Hacksaw or miter saw (with non-ferrous metal blade)
- Measuring tape
- Pencil or marker
- Tin snips (for detailed cuts)
- Metal file (for smoothing rough edges)
- Workbench or sawhorses (to support the gutter)
- Safety glasses and gloves (for protection)
Having the right tools will make the job quicker and safer, especially when dealing with aluminum, which can be sharp after cutting.
Choosing the Right Aluminum Gutters
Aluminum gutters come in different sizes, shapes, and thicknesses. Standard sizes range from 5 inches to 6 inches in width. Thicker aluminum gutters are more durable and less prone to denting during installation. Consider the thickness based on your local weather conditions; for areas with heavy rain, a thicker gutter is a better choice.
Preparing the Workspace
Before making any cuts, prepare your workspace. Ensure you have a flat and stable surface, such as a workbench or sawhorses, to support the gutter. A well-organized workspace minimizes the chance of mistakes and accidents. Make sure you have adequate lighting and room to maneuver.
Measuring the Gutters
Measure the length of your gutter run carefully. Use a tape measure to get the exact distance between the edges where the gutter will be installed. Add an extra inch to the measurement to allow for overlap if needed. Accurate measurements will help you avoid the frustration of cutting too short or too long.
Marking the Cut Line
Use a pencil or marker to draw a straight line where you want to make your cut. Double-check the measurement before marking to ensure it’s correct. You can use a square or a straight edge to ensure your line is perfectly straight, which will make cutting much easier.
Cutting Aluminum Gutters with a Hacksaw
If you’re using a hacksaw, follow these steps:
- Place the gutter on your workbench or sawhorses, making sure it’s stable.
- Begin by slowly guiding the hacksaw along the marked line.
- Use long, even strokes to cut through the aluminum.
- Avoid applying too much pressure, as this can cause the gutter to bend or warp.
The hacksaw is ideal for straight cuts and works well for beginners. However, it may take longer than power tools.
Cutting Aluminum Gutters with a Miter Saw
For quicker, more precise cuts, use a miter saw with a blade designed for cutting non-ferrous metals like aluminum. Set the saw at a slow speed and guide the gutter through the blade carefully, following your marked line. The advantage of using a miter saw is the ability to make accurate angle cuts, which is particularly useful for corners and downspouts.
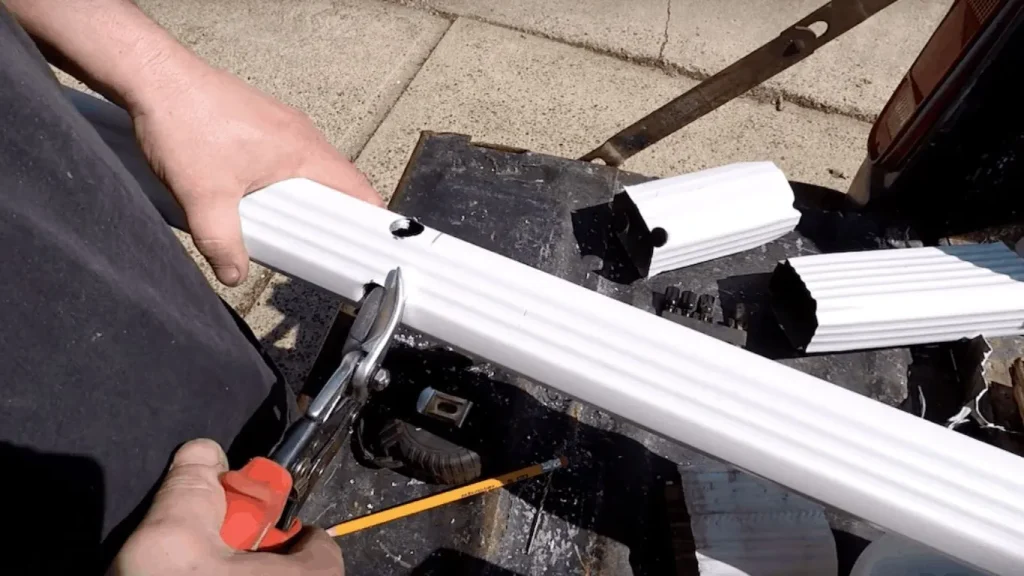
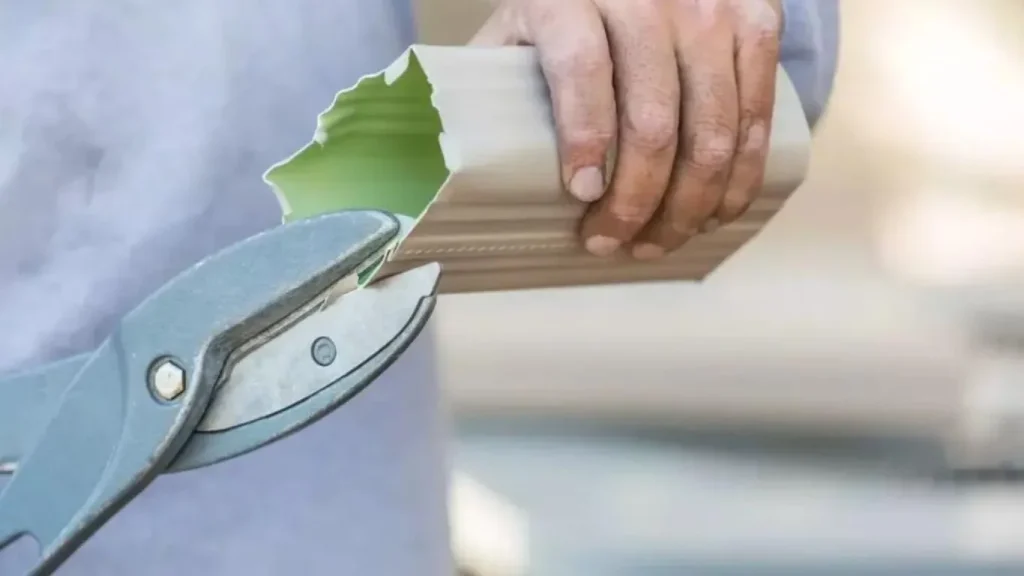
Using Tin Snips for Detailed Cuts
Tin snips are great for making small, detailed cuts, especially around corners or awkward areas where a straight saw cut isn’t possible. When using tin snips:
- Start from the edge and work your way inward, making small, controlled cuts.
- Use sharp tin snips to avoid jagged edges that could lead to improper water flow or leaks.
Smoothing Edges After Cutting
After cutting, aluminum gutters can have sharp, rough edges. Use a metal file to smooth out these edges, ensuring a safer installation and reducing the risk of injury. Filing down sharp edges also ensures the gutter connects properly to other sections without gaps or leaks.
Fitting and Testing the Gutters
Once you’ve made your cuts, fit the gutter in place to ensure it matches the measured length. Attach the gutter temporarily and pour a small amount of water to check the flow and look for any leaks. If the gutter fits well and there are no issues, secure it permanently using the appropriate fasteners.
Cutting Gutter Corners and Angles
Cutting gutters at angles is necessary for turning corners or connecting downspouts. Mark the angle you need to cut, typically 45 degrees, and use a miter saw for the best results. Angled cuts should align perfectly to ensure water flows smoothly around corners.
Common Mistakes to Avoid
- Incorrect measurements: Always double-check your measurements before cutting.
- Forgetting to file edges: Unfiled edges can cause leaks and make installation more difficult.
- Rushing the job: Take your time to ensure a smooth, clean cut.
Safety Tips for Cutting Aluminum Gutters
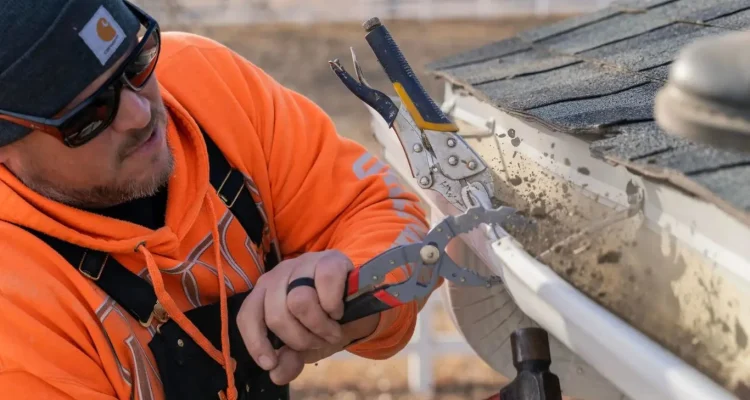
Safety should always come first. Wear protective gloves and safety glasses to protect yourself from sharp aluminum shards. Ensure your workspace is free from clutter and distractions.
FAQs
- How thick should my aluminum gutters be?
Most residential gutters are between 0.019 and 0.032 inches thick. Thicker gutters are more durable, especially in areas with harsh weather. - Can I cut aluminum gutters without power tools?
Yes, a hacksaw or tin snips are effective for cutting aluminum gutters without power tools, though it may take more effort and time. - What’s the best way to avoid gutter leaks after cutting?
Ensure smooth cuts and file down any rough edges to ensure a snug fit between gutter sections. Use sealant on joints to prevent leaks. - How often should I replace my aluminum gutters?
Aluminum gutters can last 20 years or more if maintained properly. Inspect them regularly for signs of wear, such as leaks or sagging. - Is it possible to repair a damaged section of an aluminum gutter?
Yes, you can replace damaged sections by cutting out the bad part and attaching a new piece using connectors and sealant.

Conclusion
Cutting aluminum rain gutters is a task that requires precision, patience, and the right tools. With careful measurements, proper cutting techniques, and attention to detail, you can ensure your gutters fit perfectly and perform their job efficiently. By following this guide, you’ll be able to cut aluminum gutters like a professional, enhancing your home’s drainage system for years to come.


Congratulation!