Introduction
Installing a beaded pool liner isn’t just about aesthetics; it’s about ensuring the longevity and functionality of your pool. A properly installed liner protects the pool’s structure, prevents leaks, and provides a smooth surface for swimmers. But what exactly is a beaded pool liner, and why is it so popular?
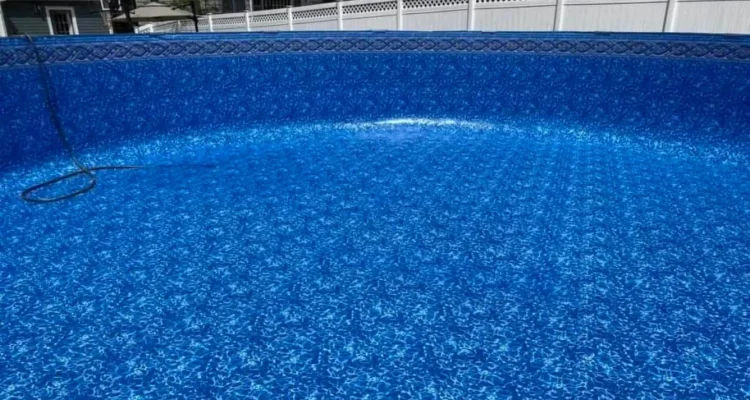
A beaded pool liner is designed with a thick bead that snaps into a track or receiver at the top of the pool wall. This design allows for a snug fit and easy replacement without the need to dismantle the pool’s top rails. It’s a preferred choice for many pool owners due to its simplicity and the variety of patterns available.
Tools and Materials Needed
Before you start the installation, gather all the necessary tools and materials. Having everything on hand will make the process smoother and more efficient.
Essential Tools
- Tape measure
- Utility knife
- Screwdriver
- Shop vacuum
- Pool brush
- Rubber mallet
Additional Supplies
- Beaded pool liner
- Pool cove or foam
- Duct tape or liner tape
- Garden hose
- Liner lock (optional)
Preparation Before Installation
Proper preparation is key to a successful liner installation. Rushing through this phase can lead to mistakes that could affect the liner’s fit and durability.
Measuring Your Pool
Accurate measurements are crucial. Measure the diameter and depth of your pool to ensure you purchase the correct size liner. Remember, pool liners are not one-size-fits-all, so double-check your measurements before ordering.
Choosing the Right Liner
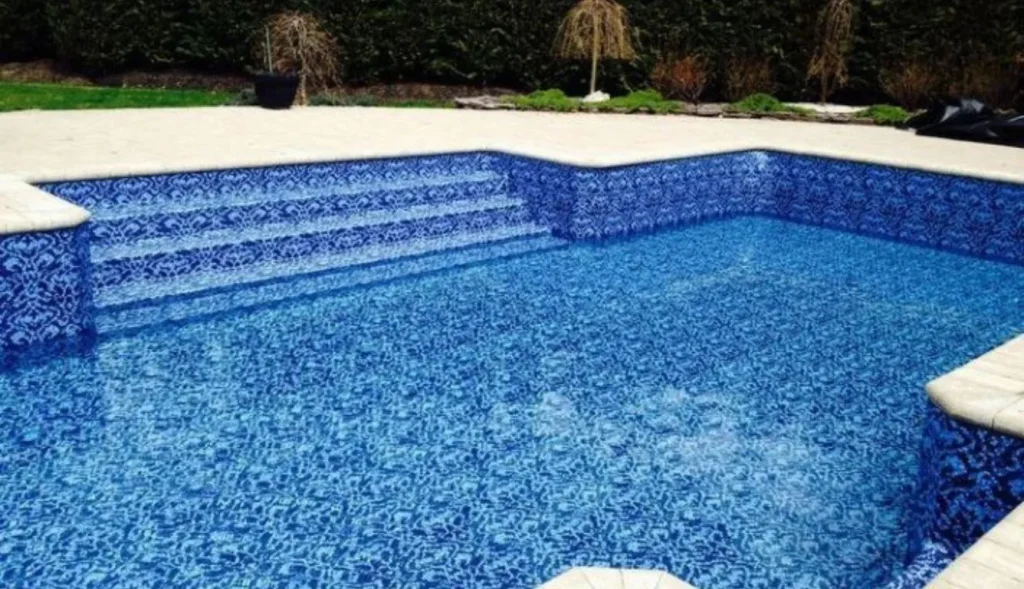
When selecting a liner, consider the thickness, pattern, and color. Thicker liners tend to be more durable, and choosing a darker color can help absorb sunlight, warming the pool water slightly.
Preparing the Pool Surface
Before installing the new liner, the pool surface must be clean and smooth. Remove any debris, and make sure there are no sharp objects that could puncture the liner. This step is especially important if you’re installing the liner on a pool with a sand or foam base.
Removing the Old Liner
If you’re replacing an old liner, you’ll need to remove it carefully to avoid damaging the pool walls or floor.
Draining the Pool
Start by draining the pool. Use a submersible pump to remove the water, or if your pool has a drain plug, open it to let the water out. Once the pool is empty, you can begin removing the old liner.
Removing the Existing Liner
Use a utility knife to cut the liner into manageable sections, making it easier to remove. Be careful not to damage the bead receiver if you plan to reuse it.
Inspecting the Pool Structure
With the old liner removed, take this opportunity to inspect the pool’s structure. Look for any signs of wear or damage that need to be addressed before installing the new liner.
Checking for Damage
Examine the pool walls and floor for cracks, rust, or other damage. Even small issues can cause problems down the line, so it’s best to fix them now.
Repairing Any Issues
If you find any damage, repair it using the appropriate materials. For minor cracks, pool putty can be used, while larger issues may require professional assistance.
Cleaning and Smoothing the Pool Surface
A clean and smooth surface is essential for a flawless liner installation.
Removing Debris
Thoroughly clean the pool walls and floor, removing any dirt, leaves, or debris. Use a pool brush and vacuum to ensure the surface is spotless.
Smoothing Out Rough Areas
If the pool floor has any rough patches or uneven areas, smooth them out with sand or foam padding. This will prevent the liner from being punctured or developing wrinkles.
Installing the Beaded Pool Liner
Now that your pool is prepped and ready, it’s time to install the new liner.
Starting with the Corners
Begin by aligning the liner’s bead with the bead receiver in one corner of the pool. This will help you position the liner correctly as you work your way around the pool.
Working Around the Perimeter
Once the corner is secure, gradually work your way around the perimeter, snapping the bead into the receiver. Take your time to ensure the liner is evenly distributed and free of wrinkles.
Adjusting and Aligning the Liner
After securing the liner, make any necessary adjustments to ensure it’s properly aligned. The liner should be smooth and taut, with no visible creases.
Securing the Liner in the Bead Receiver
Ensuring the liner is securely fastened in the bead receiver is crucial for a long-lasting installation.
Ensuring a Tight Fit
Press the liner firmly into the bead receiver, using a rubber mallet if necessary to achieve a snug fit. This will prevent the liner from slipping out over time.
Avoiding Common Mistakes
Be mindful of common mistakes, such as overstretching the liner or not aligning it correctly. These errors can lead to premature wear or damage.
Filling the Pool with Water
With the liner in place, it’s time to fill the pool.
Monitoring the Liner as the Pool Fills
As the pool fills with water, keep an eye on the liner to ensure it remains properly aligned. Use a soft brush to smooth out any wrinkles that may appear.
Adjusting for Wrinkles and Air Pockets
If you notice any wrinkles or air pockets, stop filling the pool and adjust the liner as needed. It’s easier to fix these issues now than after the pool is full.
Finishing Touches
With the pool full and the liner in place, there are a few final steps to complete the installation.
Trimming Excess Liner Material
If there’s any excess liner material around the edges, carefully trim it away with a utility knife. Be cautious not to cut too close to the bead receiver.
Securing the Pool’s Top Rails
Reinstall the pool’s top rails, ensuring they’re secure and evenly tightened. This will help keep the liner in place and add stability to the pool’s structure.
Maintaining Your Beaded Pool Liner
Proper maintenance will extend the life of your pool liner and keep it looking its best.
Regular Maintenance Tips
Regularly check the liner for signs of wear, such as fading or small tears. Addressing these issues early can prevent more significant problems later on.
How to Address Common Issues
If you notice any issues, such as the liner slipping out of the bead receiver, address them promptly. A liner lock can be used to secure the liner more firmly in place.
Troubleshooting Common Problems
Even with proper installation and maintenance, issues can arise. Here’s how to handle some common problems.
Wrinkles in the Liner
If your liner develops wrinkles, try smoothing them out with a pool brush. In some cases, you may need to partially drain the pool to reposition the liner.
Liner Slipping Out of the Bead Receiver
If the liner slips out of the bead receiver, try using a liner lock to secure it. If the problem persists, you may need to consult a professional.
When to Call a Professional
Sometimes, DIY isn’t the best option. Knowing when to call a professional can save you time and money in the long run.
Signs of Serious Issues
If you notice significant damage to the pool structure or the liner, it’s best to call in a professional. They can assess the situation and recommend the best course of action.
Professional Installation Services
If you’re not confident in your ability to install the liner yourself, consider hiring a professional. They have the experience and tools needed to do the job right.
FAQs
- Can I install a beaded pool liner myself?
Yes, with proper preparation and attention to detail, many pool owners can successfully install a beaded pool liner themselves. - How long does a beaded pool liner last?
A well-maintained beaded pool liner can last between 8 to 12 years, depending on factors like usage and weather conditions. - What should I do if my liner has wrinkles?
If your liner develops wrinkles, try smoothing them out with a pool brush. You may also need to partially drain the pool to reposition the liner. - Is it necessary to remove the top rails to install the liner?
No, one of the advantages of a beaded liner is that it can be installed without removing the top rails of the pool. - What is the best time of year to install a pool liner?
The best time to install a pool liner is during warm weather when the liner is more pliable and easier to work with.
Conclusion
Installing a beaded pool liner may seem challenging, but with the right preparation and guidance, it’s a task that many pool owners can handle themselves. By following this step-by-step guide, you can ensure a smooth and successful installation that will keep your pool looking great for years to come.
Congratulation!