Introduction
Painting a bathroom ceiling may seem like a straightforward task, but it’s more than just rolling on some paint. A well-painted ceiling not only enhances the appearance of your bathroom but also protects it from moisture and mildew. Whether you’re freshening up an old paint job or tackling a new project, understanding the process will ensure you get professional-looking results.
Preparation
Gathering Materials and Tools
Before you dive into painting, it’s crucial to gather all necessary materials. You’ll need:
- Ceiling paint (preferably moisture-resistant)
- Paint roller with an extension pole
- Paintbrushes (angled brushes work well for edges)
- Painter’s tape
- Drop cloths or plastic sheeting
- Ladder
- Cleaning supplies (mild detergent, sponges)
Choosing the Right Paint
For bathrooms, it’s best to choose paint specifically designed for high-moisture environments. Look for paints labeled as “bathroom paint” or those with mold and mildew-resistant properties. An eggshell or satin finish works well for ceilings, as it offers a bit of sheen without being overly reflective.
Preparing the Bathroom Area
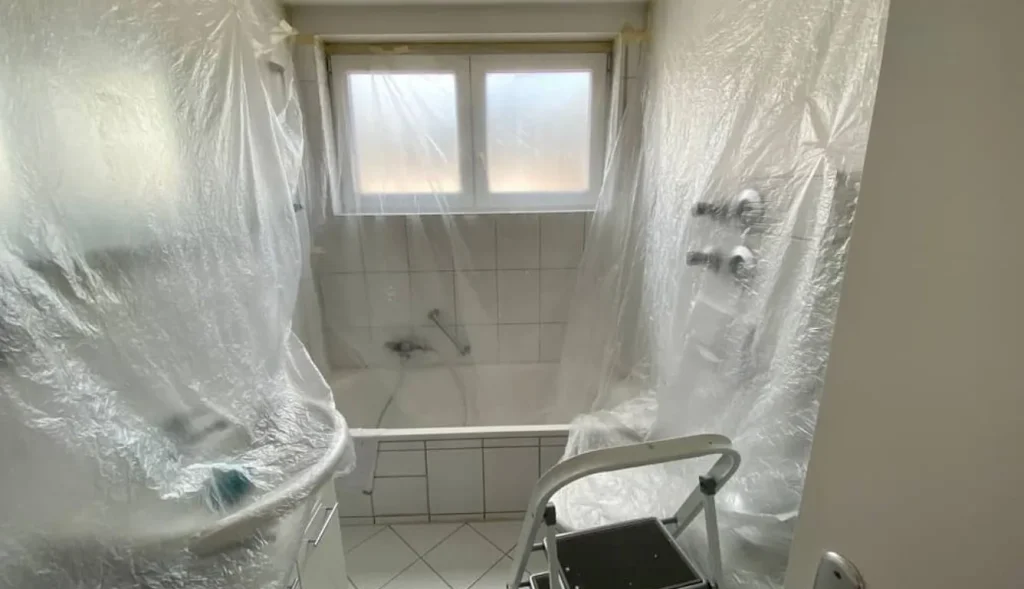
To protect your bathroom from splatters and spills, cover floors, sinks, and countertops with drop cloths or plastic sheeting. Use painter’s tape to mask off areas where the ceiling meets the walls and any fixtures you want to protect.
Safety First
Ensuring Proper Ventilation
Bathrooms are often humid, and painting can exacerbate this. Ensure your bathroom is well-ventilated by opening windows and using exhaust fans. Proper ventilation helps the paint dry faster and reduces the risk of mildew.
Using Protective Gear
Wear protective gear to shield yourself from fumes and paint splatters. A dust mask or respirator is essential, especially if the bathroom lacks good ventilation. Safety goggles and gloves are also recommended.
Surface Preparation
Cleaning the Ceiling
Before painting, clean the ceiling to remove dust, dirt, and grime. Use a mild detergent and a sponge to gently wash the surface. Allow it to dry completely before moving on to the next step.
Repairing Damages
Inspect the ceiling for any cracks, holes, or peeling paint. Fill any imperfections with a high-quality spackle or joint compound. Once the filler is dry, sand the area smooth to ensure a uniform surface.
Priming the Surface
Priming is crucial for ensuring good paint adhesion and achieving an even finish. Apply a coat of primer suitable for ceilings. This step is especially important if you’re painting over a dark color or dealing with stains.
Painting Techniques
Selecting the Right Brush or Roller
Choose a roller with a medium nap (1/2 to 3/4 inch) for textured ceilings, or a smooth nap for flat surfaces. An extension pole will make it easier to reach the ceiling without a ladder. Use an angled brush to cut in around edges and corners.
Painting the Edges
Start by cutting in around the edges of the ceiling where it meets the walls. This ensures a clean line and prevents the roller from accidentally hitting the walls. Be precise and use painter’s tape to help create a crisp edge.
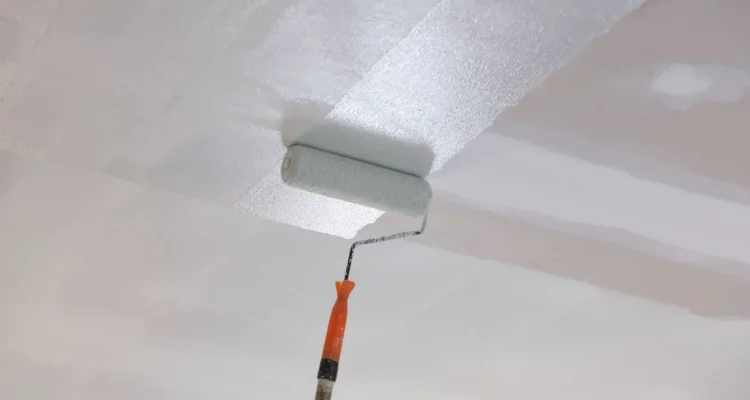
Applying the First Coat
Load your roller with paint and start applying it to the ceiling in a W-pattern. This technique helps distribute the paint evenly and reduces streaks. Work in small sections to maintain a wet edge and avoid visible roller marks.
Applying the Second Coat
Allow the first coat to dry completely before applying the second coat. Depending on the color and paint type, two coats may be necessary for full coverage and a uniform finish.
Finishing Touches
Touching Up Mistakes
Once the paint is dry, inspect the ceiling for any missed spots or imperfections. Use a small brush to touch up these areas. Be careful to blend the touch-ups with the surrounding paint.
Cleaning Up
Remove painter’s tape carefully while the paint is still slightly wet to avoid peeling. Clean your brushes and rollers with soap and water if you used latex paint, or with paint thinner for oil-based paints. Dispose of any used drop cloths and protectors properly.
Tips for a Professional Finish
Avoiding Common Mistakes
To achieve a professional finish, avoid overloading your roller with paint, which can lead to drips and uneven coverage. Additionally, always paint in one direction and maintain a wet edge to prevent lap marks.
Recommended Techniques for Even Coverage
For the best results, use a technique called “cross-rolling,” where you roll in one direction and then cross-roll in the opposite direction. This ensures even coverage and helps to eliminate roller marks.
FAQs
How long does it take to paint a bathroom ceiling?
The time required depends on the size of the bathroom and the complexity of the job. On average, allow a few hours for preparation and each coat of paint. Including drying time, the entire project could take one to two days.
Can I use regular ceiling paint in a bathroom?
Regular ceiling paint may not be ideal for bathrooms due to high humidity. Opt for paint labeled as moisture-resistant or specifically designed for bathrooms to prevent mildew and ensure durability.
What should I do if my bathroom ceiling paint starts peeling?
If paint starts peeling, it’s often due to inadequate surface preparation or moisture issues. Remove the peeling paint, sand the area, apply a primer, and repaint. Ensure proper ventilation to prevent future peeling.
How can I prevent mold and mildew on my bathroom ceiling?
Prevent mold and mildew by using paint with mildew-resistant properties. Ensure good ventilation in the bathroom and promptly address any leaks or moisture issues.
What tools are best for painting a bathroom ceiling?
A roller with an extension pole is ideal for reaching high ceilings. Use angled brushes for cutting in edges. Ensure you have drop cloths, painter’s tape, and a ladder for safety and precision.
Conclusion
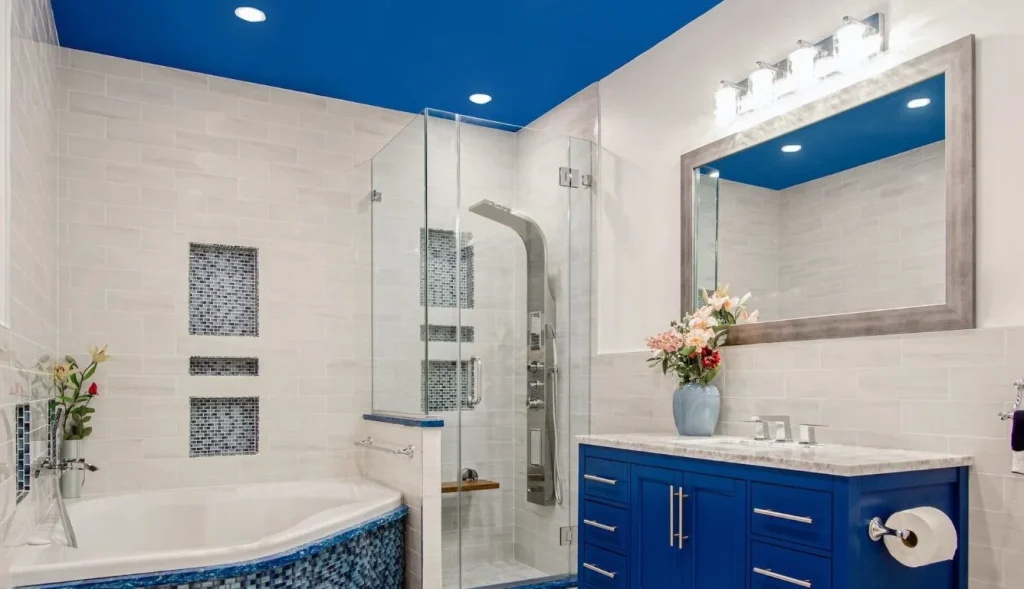
Painting a bathroom ceiling might seem like a daunting task, but with the right preparation and techniques, you can achieve a smooth, professional finish. Remember to take your time with each step, from surface preparation to applying the final coat. By following these guidelines, you’ll not only enhance the look of your bathroom but also ensure it stands up to the challenges of a high-moisture environment.
Congratulation!